This large club game saw 360 point Imperial Roman army engage an Ancient British army of the same value. The terrain was laid out in what can only be described as a ‘very random’ manner with a scattering of small areas of woodland and a few small hills. The dice decided choice of table edge, first deployment and first move. Tony and Tim took command of the Romans and Chris and I the Ancient Britons.
- IMG_2222.JPG (66.63 KiB) Viewed 2460 times
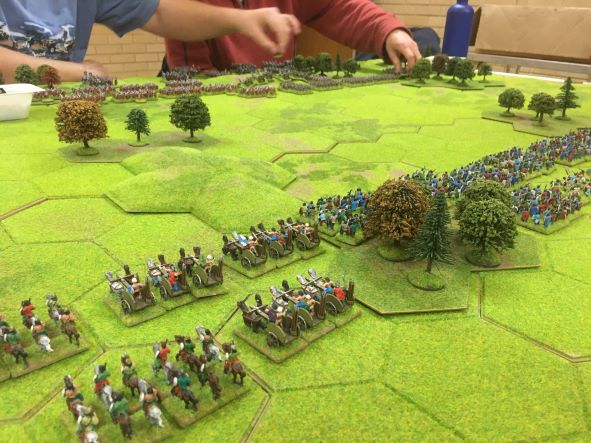
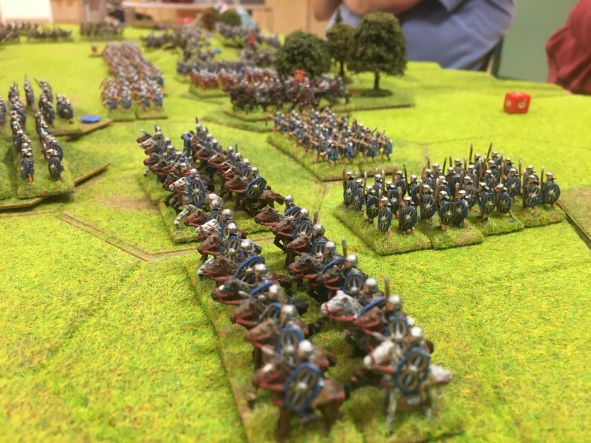
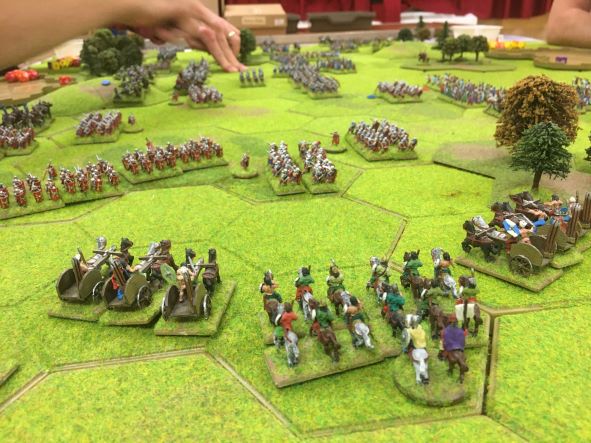
The Romans moved first and quickly established a battle line centred upon a 4 hex hill on which they positioned 2 units of field ballistas. The Roman line then halted and so Chris and I was given the mission of attacking this strong battle line taking careful note of the relative position the various elements of the Roman army. The Roman legionaries were concentrated on the right and the Auxiliary units on the left including 5 of the 7 units of Roman cavalry. In response we concentrated all of our units of foot missile armed troops against the auxiliaries and all but 2 of our chariot and light cavalry units against the right wing of the Roman legionary units.
- IMG_2225.JPG (69.02 KiB) Viewed 2460 times
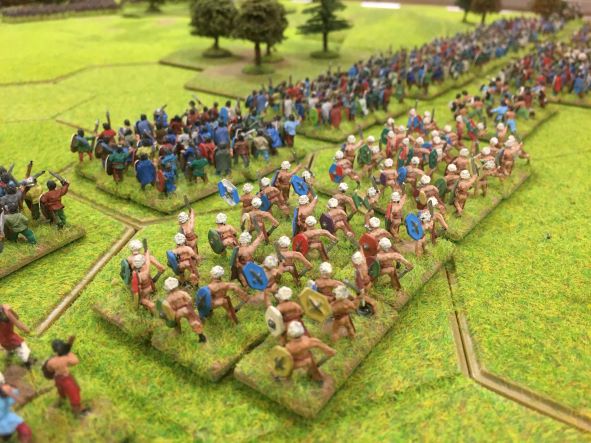
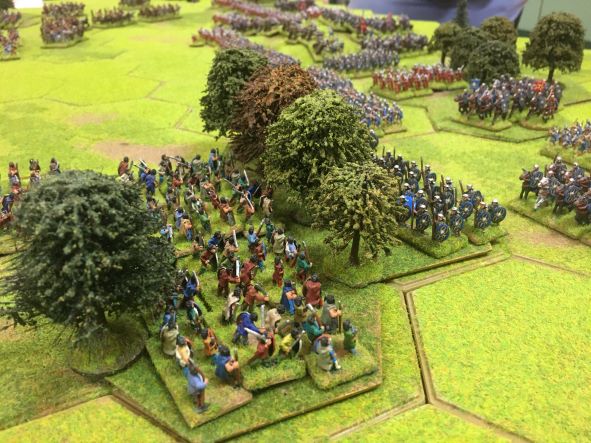
We had concentrated the 18 units of British warrior horde units into mostly 6 stand units which would give them a reasonable chance of confronting the ‘B’ class Roman heavy infantry. The Britons quickly advanced to occupy two thirds of the table including 2 very useful areas of woodland towards both the left and right of the table. However, the challenge of successfully charging the Roman line with our British warriors was always going to be a tough one.
- IMG_2227.JPG (69.52 KiB) Viewed 2460 times
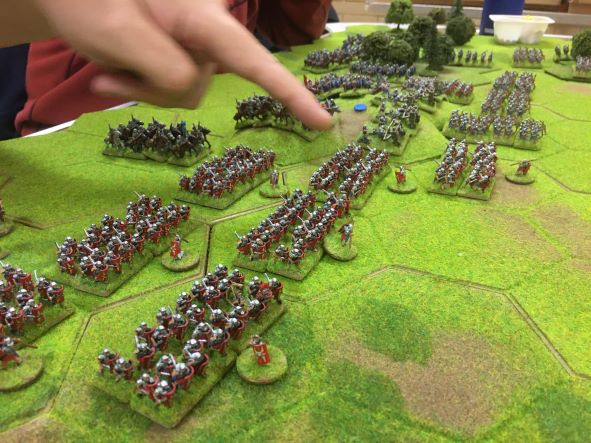
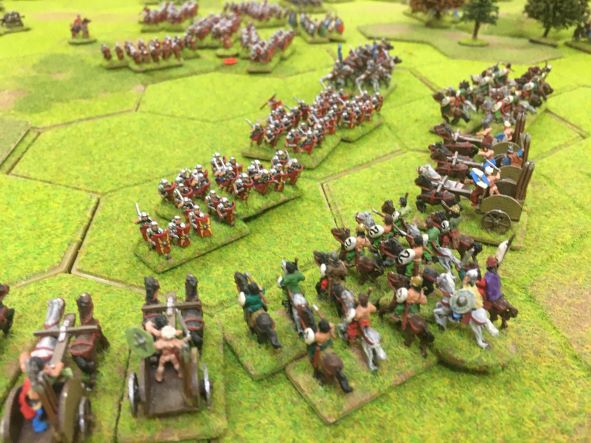
Chris managed to engage Tim’s Roman auxiliaries in a brutal battle for control of a key area of woodland. This engagement continued in the centre of the table where Tim’s auxiliary archers inflicted tremendous losses on British warrior hordes. The Roman archers were also supported by the Roman ballistas positioned on the hill which inflicted more misery on the British centre.
- IMG_2228.JPG (70.13 KiB) Viewed 2460 times
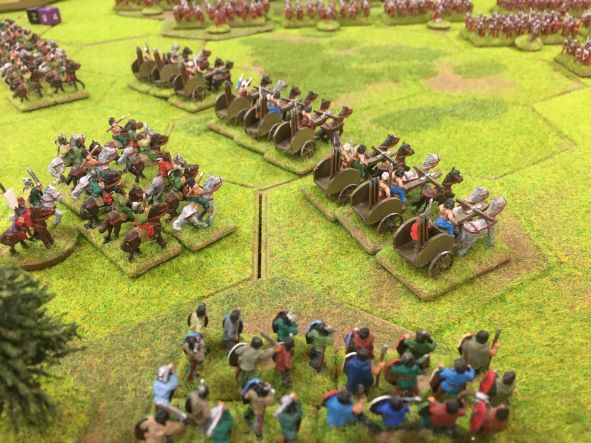
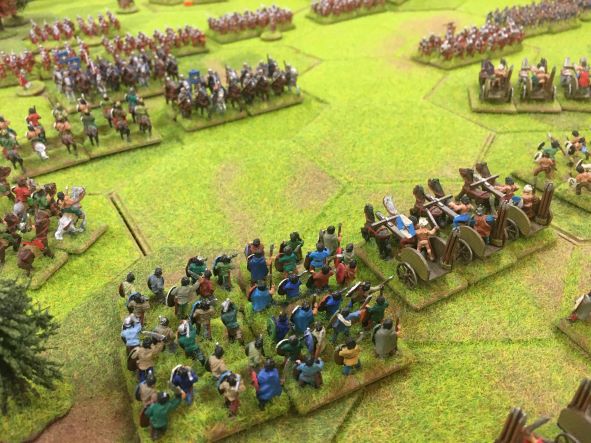
My mission was to keep as many of the Roman legionary units busy and distracted with British light cavalry and chariot units. These were a great irritation to Tony’s legionaries but despite numerous attacks and missiles I failed to inflict any significant casualties on these Roman units. They kept forming a shield wall between two areas of woodland which prevented my illusive light units from out-flanking them and inflicting any real damage on the Roman right wing.
- IMG_2229.JPG (75.12 KiB) Viewed 2460 times
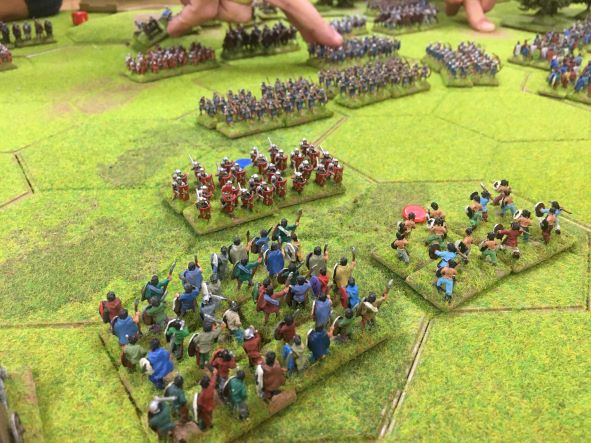
The steady Roman advance in the centre was only checked by throwing more and more hordes of warriors into the battle. The losses were not sustainable and so we had no choice but to give ground and we started to suffer command and control problems as our line was broken as hordes of warriors recoiled or flew disrupted.
- IMG_2230.JPG (64.86 KiB) Viewed 2460 times
Chris on the British right managed to push the Romans back out of the woodland which created the opportunity to attack the advancing Roman centre from the side. This was a key moment of the game where the Britons had a real opportunity to turn the game in their favour. However, two key combats went badly for the Brits, plus the central Roman archers shot well. This pushed the warriors back behind the area of woodland and the Roman centre was secure once again.
- IMG_2231.JPG (72.17 KiB) Viewed 2460 times
- IMG_2235.JPG (72.37 KiB) Viewed 2460 times
At this point of the game our Britons were holding there own on both wings, but we had lost so many warrior units in the centre that we were relying on skirmishing units and a couple of units of light chariots to fill the widening gaps. Warrior units were rallying and slowly through careful positioning of generals getting back in command. The command and control of these few remaining hordes in the centre formed a very tenuous connection with the right and left wings of the Britons. Another tactical Roman advance in the centre would certainly see the British centre finally broken.
- IMG_2236.JPG (68.67 KiB) Viewed 2460 times
Chris and Tim who had been knocking seven bells out of each others forces on the British right finally separated through combat result and did a quick look at the very large number of units consigned to the very full casualty trays!
- IMG_2240.JPG (65.78 KiB) Viewed 2460 times
Tony advanced his line of legionaries forward and as a last act of the game my British Light chariots and light cavalry for once didn’t evade and stood and fought hand-to-hand. This resulted in the loss of one unit of legionaries which admittedly had already been reduced to 3 stands. This was a pyrrhic local victory which heralded the end of an epic game. With both wings effectively fighting each other to a relative standstill, but a substantive defeat for the Britons in the centre, this game could only be recorded as a convincing Roman victory.
Game analysis
The strong Roman line centred on the 4 hex hill on which the Roman Ballistas were positioned was always going to present an interesting challenge for our British warrior hordes. The Romans managed to slowly and methodically grind down our enthusiastic Brits in the centre, but I think its fair to say that we put up one hell of a fight on both wings.